


-
Maman

MAMAN
BY
ROSE DES SABLES

IT's forbidden to copy this tutorial or to distribuate on the net,groups sharing or forums, without my permission.
I thank particularly the tubers :
Corinne Vicaire -Jring's – Feli Atob- Groupes Schares.Open your tubes, make a copy and we will work onto copies
Put your Sélection in your PSP file
and import plugin into Unlimited
Materiel
click on flower to download

Plugins
Mehdi Wab1
Ulead Effects
Art Texture
Xeros porcelain
Buttons & Frame
3D glass frame3
Take this arrow to help yourself to follow tutorial

For this tutorial the colors are

1/ Open a new transparent layer of 900/650
2/ Effet Mehdi/Wab1/1 :
Foreground , dark color : #ab2a27Background clear color: #d99895

3/ Duplicate layer/Image flip vertical/ Opacity at 50%/
Merge all visibles layers
4/Duplicate/Image resize at 90% all layers not checked
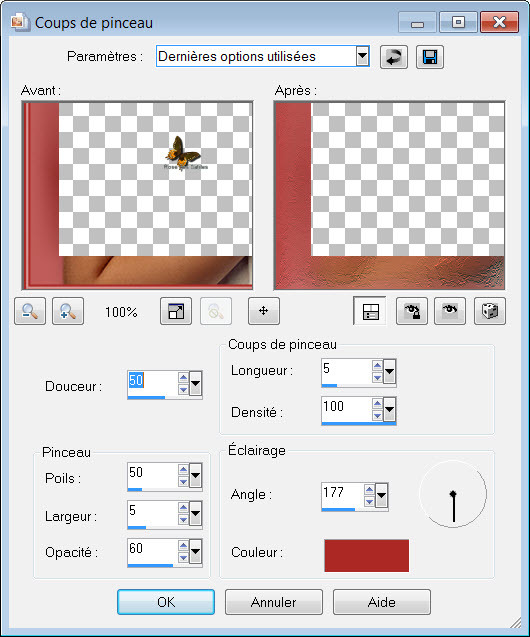
5/Effects, art media, brush strokes
6/ Plugin Ulead effects/ Art Texture : Click on toimage 5/6:

7/Put blend mode of layer Luminance L ( Legacy )
If you dont have this filter take my Ecran rose 1/Copy and paste as new layer/
Don't move it , it s ok
8/Take tool selection arrow et pull it to left and right as model shownTo deslect tool , press M on your keyboard

You have this:

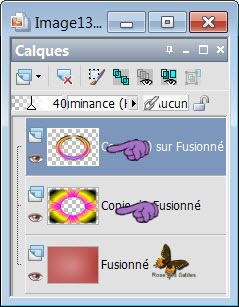
9/Duplicate this layer
You have this now :

10/Stay on copy/close its visibility and merged with the background /Activate scale and tool selection arrow/move it from 300 to 450 :

11/Désactivate tool/ Effects, Distorsion effects, Polar coordinates:
rectangular to polar

12/Drop shadow :
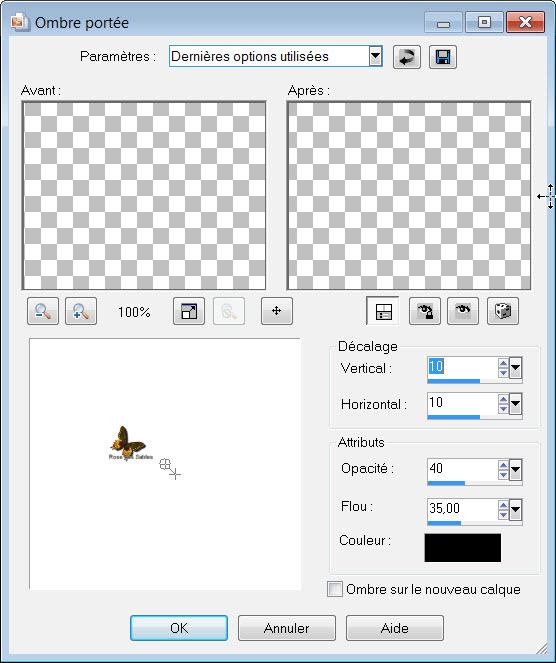
do it also in negatives values for V&H
13/selection Maman rose1
Press suppress on keyboard on actif layer and copy :
Désélect
14/Add new layer/open tube 79flowers/ Copy and paste as new layer
Center with tool Raster
15/Effect 3x Xeros porcelain/Opacity at 75/ Mode luminance L :

16/Open tube Jring’s f061510/ Image rotation à to right/
Copy and paste as new layer
Image resize at 80% all layers not checked
17/Put layer on top of pile
18/close background layer/merge all visibles layers
19/take deformation tool /Ajust image a little bit wider than your tag
Put again on Luminance L / Opacity at 80% :


20/Open tube children de Corinne Vicaire
Copy and paste as new layer
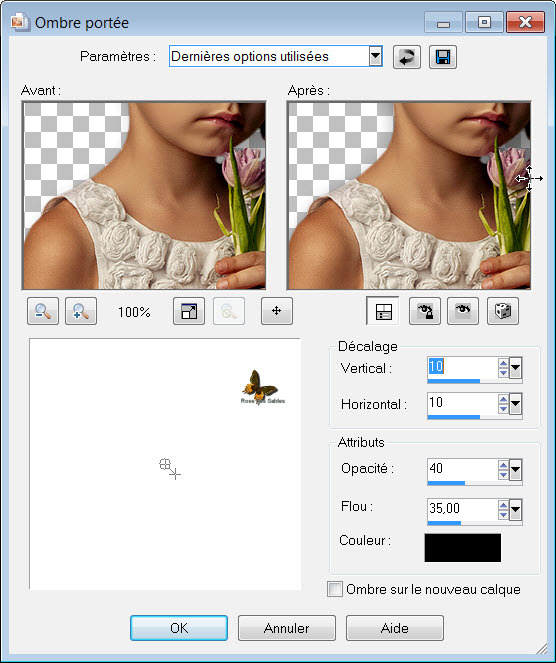
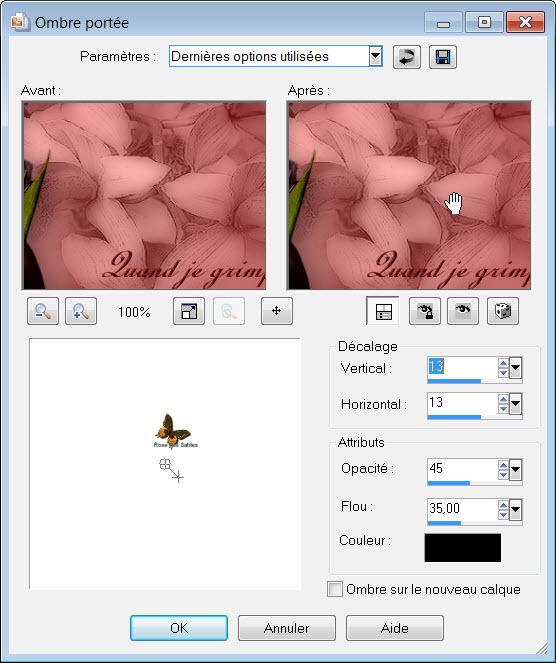
21/Effet Ombre Portée :
22/Open texte Rose/Copy and paste as new layer
Put it down
23/Copy and paste tube feli_atob as new layer/Image resize at 70%
24/Put it on left on top of tag/ Blend Mode Luminance L
Duplicate/Image mirror
25/Duplicate/Image resize at 80% and move it at the bottom of tag
between written
26/merge down 2x / Opacity at 59%/Opacity à 60%
27/Drop shadow same as N°21
28/Put your sign
29/Image/add border of 2 dark color
30/Image/add border of 2 clear color
31/Image/add border of 2 dark color
32/Promote background to layer/Edition copy
33/Selection/Sélect all/Add a border of 35 white color
34/Sélection inverse/paste into sélection copied image
35/Effects, art media effects/brush strokes
36/Effects, Unlimited 2/Buttons & Frame/3D glass frame3:

37/Selection inverse
38/Effet 3D drop shadow :
also in negatives values V&H
39/Désélect all
Export en JPG.
I thank you to have following my tutorial
and i hope you enjoyed it
Rose des sables

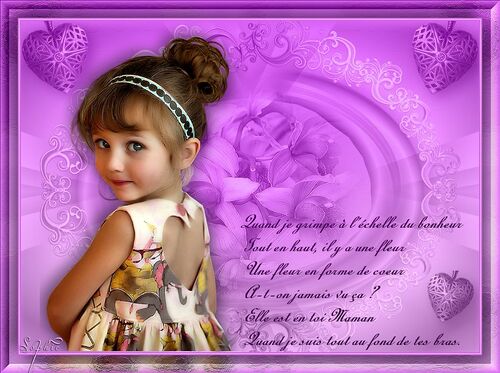
My version
tube fillette de Gabry que je remercie
autres tubes du matériel du tuto, je remercie les tubeurs
-
Pour accéder aux tutos des créateurs
cliquez sur le cœur
en dessous de leurs
bannières

-

Derniers Articles
-

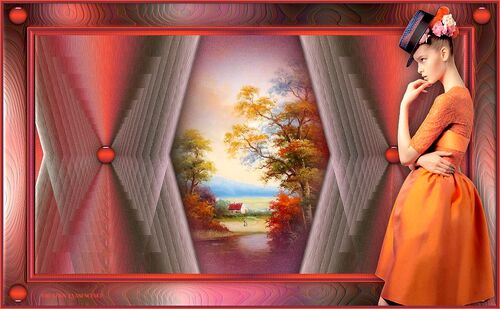
Lumières d' Automne
-


-


-


-


-


-


-

-

-


-


-

-


-


-


-

-

cliquez sur le logo au dessus site amis pour ouvrir la page
-

-

-


-


Pour mettre mes bannières
sur votre site ,cliquez sur l'une d'elles vous aurez les codes pour les incorporer
To put my banner on your site, just click on anyone of the two you have and you will have the codes on the opening page
-
-

-
Allez visiter le site de Rénée Graphisme pour vos filtres et plein d'autres choses encore
-
Livre d' Or


