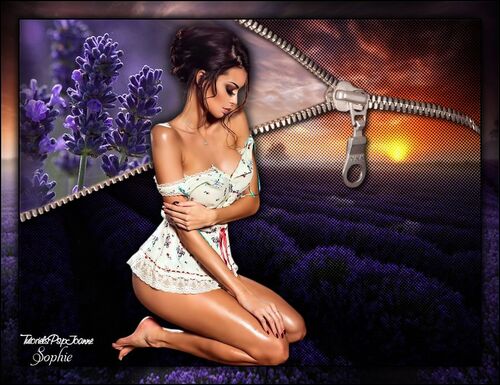
-
Par Evanescence* le 6 Juin 2017 à 10:09
Link on tag
This tutorial is property of Joanne Tutorials
This translation is property of Evanescence


MATERIAL
PLUGINS
Graphics Plus, Cross Shadow

Thanks to Mina and VEDA'S Precious Creations for tubes
1 - put selection in selection's file
2 - open a transparent layer 800x600.
Selection, select all
3 - copy and paste your image in jpg into selection
4 - selection none
Image, mirror
5 - copy and paste lavender tube
6 - effects, image effect offset

7 - stay on this layer
8 - sélections charged from disk
selection Joanne Kate

9 - suppress on keyboard
Keep selection
10 - go on layer bottom of pile
11 - promote selection into layer
selection none
12 - effects, artistic effects, simili :
rond , size 2
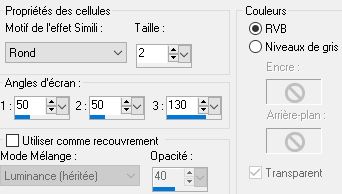
13 - layer mode into multiply
14 - go on raster top of pile
15 - copy and paste tube of zip
16 - effects, image effects, offset

17 - effects, 3D, drop shadow :

18 - effects, 3D, drop shadow :

19 - copy and paste woman tube
image mirror
20 - image, resize at 75 %, all layers not marked
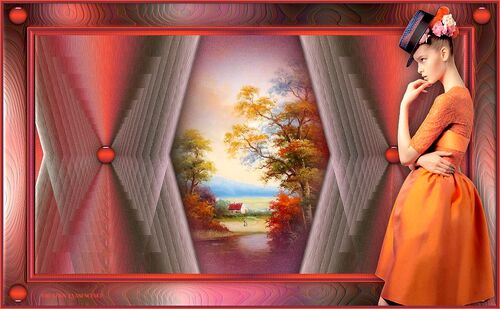
21 - place tube like model
22 - effects, 3D, drop shadow :

23 - do again drop shadow with negative -5 en vertical and horizontal
24 - copy and paste my watermark which is in material
25 - sign your version
26 - merge all layers
27 - image, add a border :
1 of 2 pixels black
1 of 30 pixels white
1 of 2 pixels black
28 - with magic wand, select the 30 px border
29 - copy landscape image
paste into selection
30 - filter Graphics Plus, Cross Shadow, défault
31 - inverse selection
32 - effects, 3D, drop shadow like in points 22 and 23
33 - selection none
34 - save as JPEG

Tube d' Isa que je remercie
