


-
Par Evanescence* le 7 Juin 2017 à 17:31
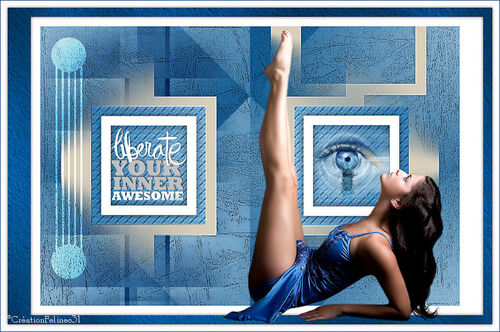
Link on tag
This tutorial is property of Feline C31
Thos translation is property of Evanescence


MATERIAL
Thanks Hebe, Libellule and MMDDesign for tubes
PLUGINS
Toadies/ Weaver
AAAFrames/ Texture Frames
Colors for this tutorial
you can change opacity and mode of layers according your choosen colors

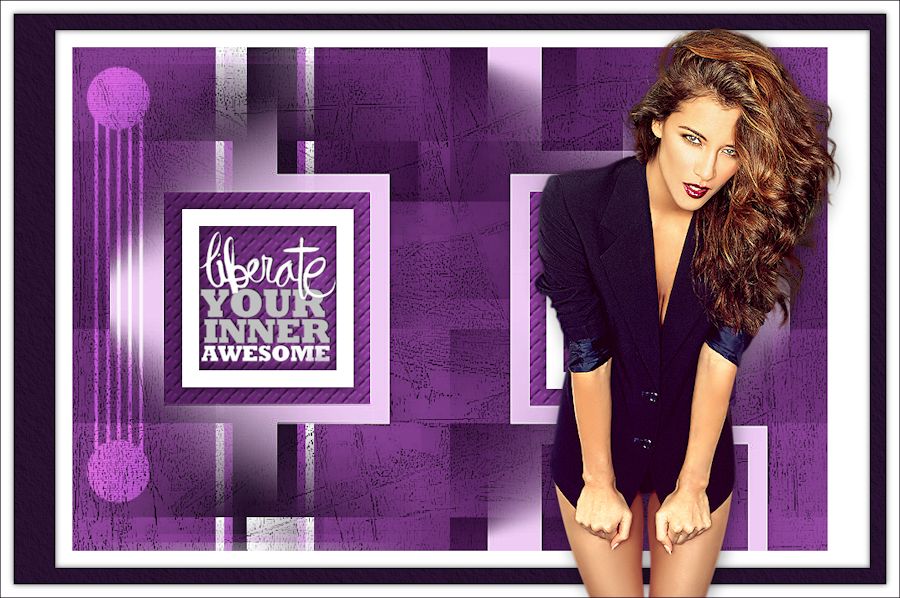
1-Open alpha layer Liberée
2- window duplicate ( touche Ctrl D )
xlose original and work on copy
This layer has selections
3- rename layer as raster 1
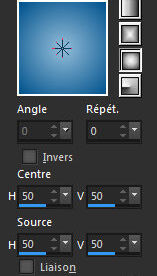
4-Prepare a sunburst gradient
color 1 as foreground
color 2 as background
5-fill layer with gradient
6-layer new layer raster 2
7-fill with color 3
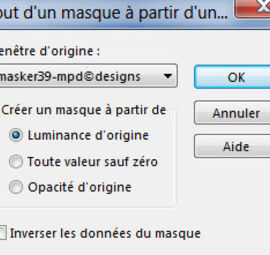
8-Ouvrir le masque masker39-mpd©designs97
8B-Layer of mask from image
9-merge group
10-Edge effect accentuate
11-Effect drop shadow 0/0/ 30/ 10 black

12- go on raster 1
13-Sélection charge from alpha canal
F-Sélection#1

14-promote selection as layer , keep selected
15- layer organize on top
16-Effect , texture effect

17-Sélection modify contract of 20
18-layer new layer raster 2
19-fill with white color
20-Sélection /Modify contract of 20
21-Suppress
22-selection none
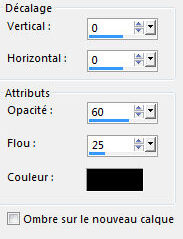
23-drop shadow 0/0/60/25 black
24- go on raster 1
25-Effect filter simple / blintz
26-Filter simple / Hal Wrap
27-layer new layer raster 3
28-fill with white color
29-Open mask VSP226
30-layer of mask from image

31-merge groupe
32-Edge effect accentuate
33-mode of layer multiply opacity 100

34- go on raster 1
35-layer new layer Raster 3
36-Sélection charge from canal alpha
selection 2

37-fill with white
38-Contract of 10
39-fill with color 2
40-Contract of 10
41-fill with color 1
42-selection none
43-Effect /Toadies / Weaver

44-layer on multiply mode opacity 100
45- go on top layer
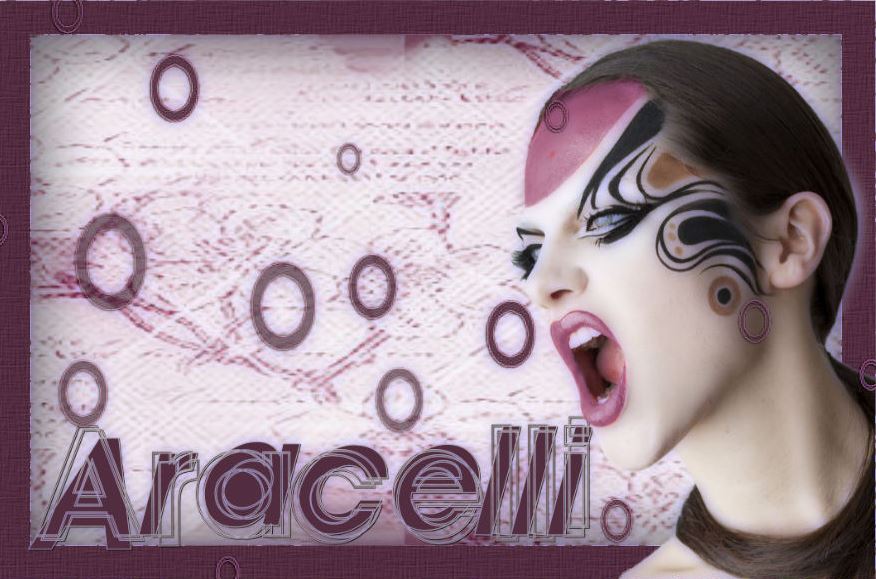
46-Open tube text Yoka
47-paste it as raster 4
48-Resize at 55 % only one layer
selection tool

Position Horiz 151 Vert 218

49-Open tube libellulegraphisme_Eyes
50-paste as new layer
51-Image resize once at 30% and then at à 75%
52-tool selection
Position Horiz 580 Vert 217

53-Sélection charge from canal alpha
F- Selection3

54-inverse selection
55-Suppress
56-selection none
57-Open tube déco 1
58-paste as new layer
59-selection tool
Position Horiz 17 Vert 23

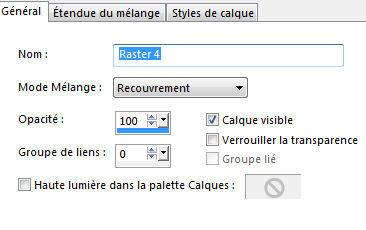
60-mode of layer on overlay opacity 100
61-Add a non symetric border white color

62-Add a non symetric border color 2

63-Add a symetric border of 15 white
64-Select border of color 2
65-Filter AAA Frames/ Texture Frames

66-Effect drop shadow 0/0/60/10 black

67-slection none
68-Open tube , here of Hebe
69-paste as new layer
70-Image/ resize at 95%
71-tool selection
Position Horiz 475 Vert 58

72-adjust, sharpness, sharpen
73-drop shadow 3/3/40/30 black
74-add one border of 1 color 2
75- Resize at 900 pixels
76-Sign

tube de Grisi

-
Pour accéder aux tutos des créateurs
cliquez sur le cœur
en dessous de leurs
bannières

-
Derniers Articles
-

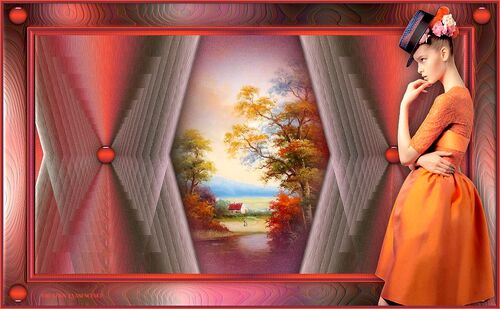
Lumières d' Automne
-


-


-


-

-


-


-

-

-


-


-

-


-


-


-

-

cliquez sur le logo au dessus site amis pour ouvrir la page
-

-

-


-


Pour mettre mes bannières
sur votre site ,cliquez sur l'une d'elles vous aurez les codes pour les incorporer
To put my banner on your site, just click on anyone of the two you have and you will have the codes on the opening page
-
-

-
Allez visiter le site de Rénée Graphisme pour vos filtres et plein d'autres choses encore
-
Livre d' Or

