-
Par Evanescence* le 6 Juin 2017 à 11:10
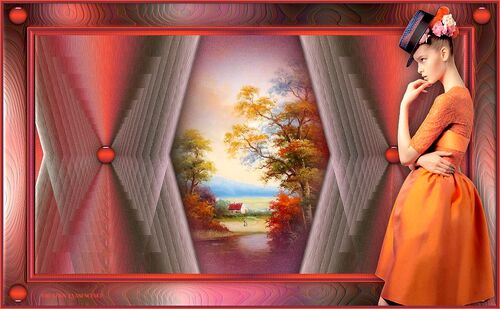
Link on tag
This tutorial is property of Joanne Tutoriels
This translation is property of Evanescence
MATERIAL
PLUGINS
Graphics Plus, Cross Shadow
Personnalisé, Emboss 3
Alien Skin, Eye Candy 5 Impact, Glass

Thanks to THAFSUTH for lovely tube of flowers
1 - in colors palette foreground c53389
background 53193d
2 - open a transparent raster 800x600.
fill it up with background color 53193d
3 - effects, texture effect, weave :

4 - duplicate layer
close copy and go on original layer
5 - filter Graphics Plus, Cross Shadow default
close this layer
6 - go on copy layer and open it
7 - layer of mask from image :

8 - merge group
9 - duplicate layer 2 times
stay on layer copy 2
10 - effects, image effect, offset :

11 - go on layer just below
12 - effects, image effect , offset :

13 -merge visible layers
14 - filter Emboss 3
15 - edge effects, accentuate
16 - effects, 3D, drop shadow :

17 - do it again with negative -3 en vertical and horizontal
18 - open the closed layer
19 - go on top layer
20 - copy and paste tube of flowers
adjust , sharpness, more sharpness
21 - effects, 3D, drop shadow like points 16 and 17
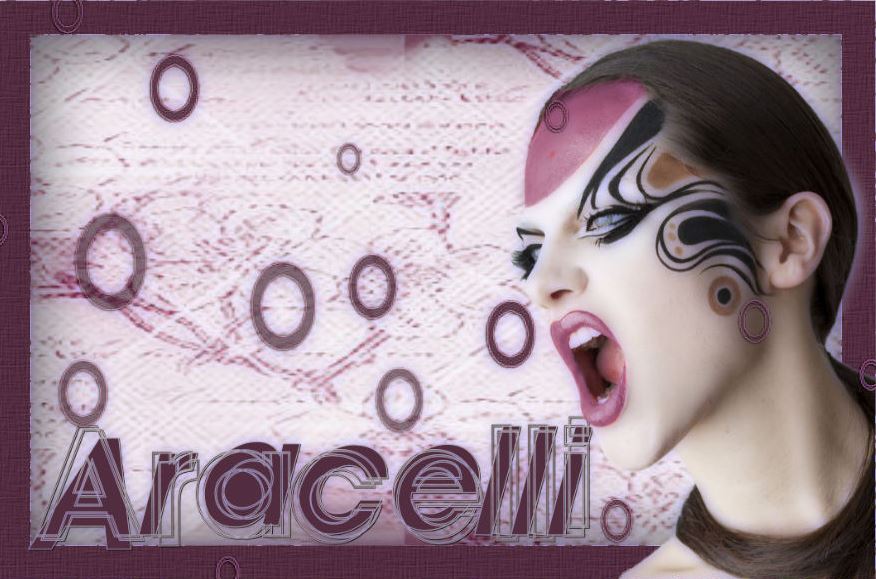
22 -place it like model
24 - effects, 3D, drop shadow like 16 and 17
25 - copy and paste my watermark
26 - sign your version
27 - merged all layers
28 - image, add borders :
1 border of 2 pixels black
1 border of 30 pixels white
1 border of 2 pixels black
29 - select border of 30 pixels with magic wand
30 - paint it with color background 53193d
31 - effects, texture effects, weave like in point 3
32 - effects, edge accentuate
33 - filter Alien Skin, Eye Candy 5 Impact, Glass :
Settings :

Basic :
background color

34 - adjust color and saturation

35 - selection none
36 - save as JPE

Tube de gabry
Tube de Vio
