


-
Par Evanescence* le 23 Octobre 2017 à 15:38
Link on tag
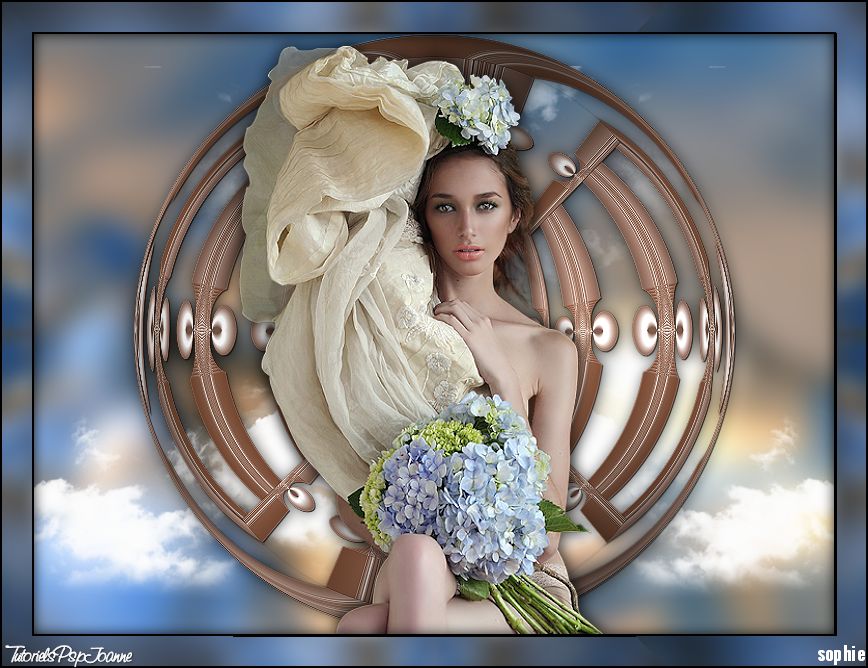
This tutorial is property of Joanne Tutoriels
This translation is property of Evanescnce


PLUGINS
Mura's Meister, Perspective Tiling
Frischluft
Flaming Pear, Flexify 2
Graphics Plus, Cross Shadow
Simple
MATERIAL
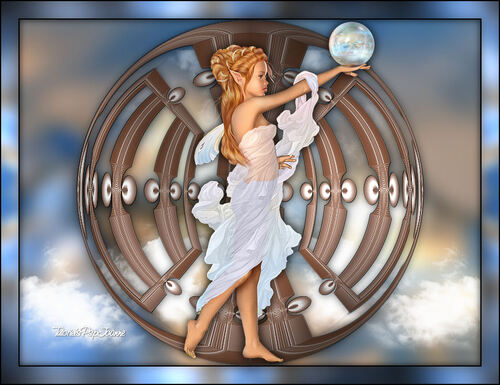
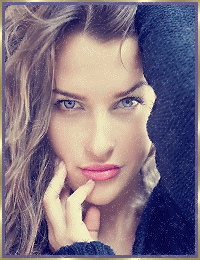
Un grand merci à KAT pour son magnifique tube féminin.
Merci également aux auteurs respectifs de l'image de la perle
et du tube des nuages.

1 - place Selections in your file PSP
2 - place gradient in your gradient file PSP
3 - in colors palette, put color c7a985 as foreground
and as background color 734229
4 - make a radial gradient like this

5 - colors palette :

6 - open a transparent layer 800x600.
select all
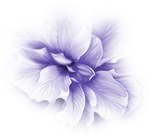
7 - copy and paste image "Perle" inton selection
deselect
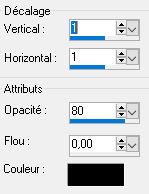
8 - adjust, blur, gaussian blur at 15
9 - add a new layer
fill it with gradient
10 - adjust, color and saturation, colorize :

11 - de distorsion effect, polar coordinate
rectangular to polar
repeat

12 - sélections charge from disk
selection 1

13 - suppress or delete
deselect
14 - sélection from disk
selection 2

15 - Texture effects, blinds
light top left

16 - deselection
17 - sélection charge from disk
selection 3

18 - plugin Mura's Meister, Perspective Tiling , default
deselect
19 - plugin Frischluft, Amiga Rulez :

20 - plugin Flaming Pear, Flexify 2 :

21 - reflexion effects, rotation mirror
reflect

22 - adjust, sharpness, sharp, 2 times
23 - effects, 3D, drop shadow :
24 - effects, 3D, drop shadow :

25 - plugin Graphics Plus, Cross Shadow :

26 - copy and paste your principal tube
27 - image, resize at 75 %, only 1 layer
28 -asjust, sharpness, sharp
29 - effects, 3D, drop shadow like in step 24
30 - drop shadow again,with -1 vertical and horizontal
31 - adjust tube like model
32 - go to bottom layer
33 - copy ans paste nuages tubes. d'ont move it
34 - reflexion effects, rotatif mirror like in step 21
35 - duplicate layer
36 - copy and paste my watermark
37 - sign your version
38 - merge all layers
39 - image, add borders :
1 of 2 pixels black
1 of 30 pixels white
1 of 2 pixels black
40 - with magic wand, select border of 30 pixels
41 - copy image "Perle" and paste into selection
42 - adjust blur gaussian blur at 10
43 - plugin Simple, Pizza Slice Mirror
44 - plugin Graphics Plus, Cross Shadow, default
45 - effects, 3D, drop shadow like in steps 29 and 30
46 - deselect
47 - save as JPEG
Tube de Mina

-
Pour accéder aux tutos des créateurs
cliquez sur le cœur
en dessous de leurs
bannières

-

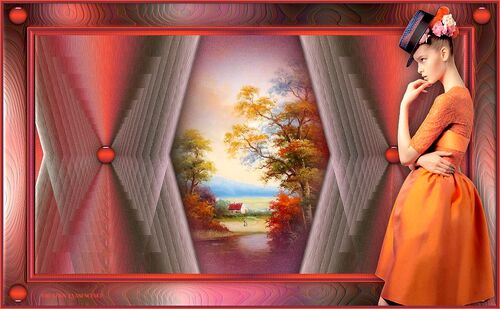
Lumières d' Automne
-


-


-


-

-


-


-

-

-


-


-


-


-


-


-

-

cliquez sur le logo au dessus site amis pour ouvrir la page
-

-

-


-


Pour mettre mes bannières
sur votre site ,cliquez sur l'une d'elles vous aurez les codes pour les incorporer
To put my banner on your site, just click on anyone of the two you have and you will have the codes on the opening page
-
-

-
Allez visiter le site de Rénée Graphisme pour vos filtres et plein d'autres choses encore
-
Livre d' Or


