-
Par Evanescence* le 6 Juin 2017 à 12:15
Link on image
This tutorial is property of Joanne
This translation is property of Evanescence
MATERIAL
PLUGINS
Mura's Meister, Seamless
Factory Gallery B
Mura's Meister, Perspective Tiling
- le filtre Graphics Plus, Cross Shadow
Thanks to NIKITA and www.HEBUS.com
1 - place selection in selection files
2 - in colors palette
foreground 5d260d
background fef68a
3 - open a transparent raster 800x600 px
selection all
4 - copy background image in jpg
color it
5 -copy and paste in selection
selection none
6 - adjust blur, gaussian blur value 10
7 - filter Mura's Seamless :
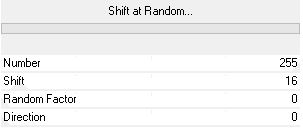
8 - effects, distorsion effect , twirl
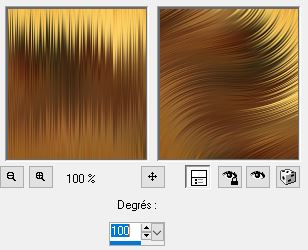
9 - duplicate layer
close copy and go on original layer
10 - sélection chargé from disk
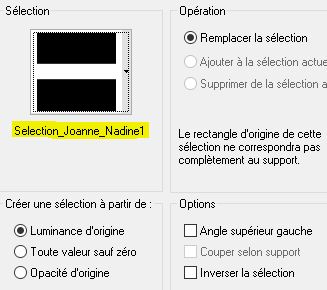
11 - filter Mura's Meister, Perspective Tiling :
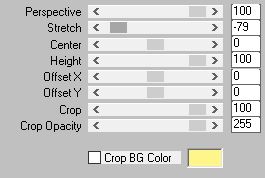
12 - effects, 3D, drop shadow :

13 -selection none
gonon copy raster and open it
14 - filter Factory Gallery B, Circulator :
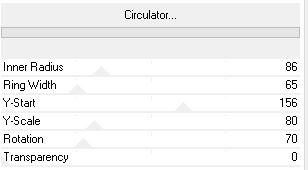
15 - effects, 3D, drop shadow :
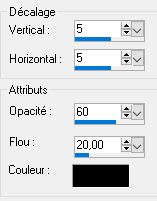
16 - do drop shadow again with negative value -5 vertical and horizontal
17 - copy and paste flower tube
18 - image, resize at 70 %, only one layer
19 - effects, 3D, drop shadow like steps 15 and 16
20 - copy and paste woman tube
21 - effects, 3D, drop shadow like steps 15 and 16
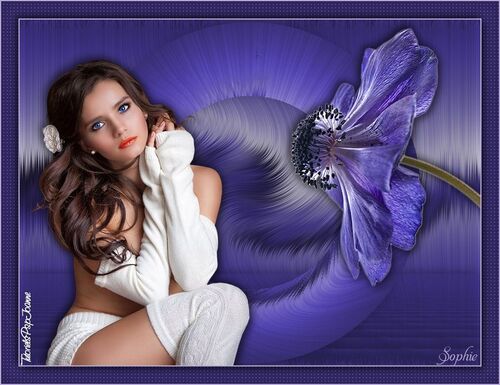
22 - position woman tube and flower tube like model
23 - copy and paste my watermark
24 - sign your version
25 - merged all layers
26 - image, add a border
1 of 2 pixels fef68a
1 of 30 pixels 5d260d
1 of 2 pixels fef68a
27 - with magic wand select border of 30 pixels
28 - effects, texture effect, weaver
fill gaps marked

29 - inverse selection
30 - effects, 3D, drop shadox like in steps 15 and 16.
selection none
31 - save in JPEG

Tube de Noé
Tube de Mina


