/image%2F0654964%2F20241204%2Fob_9a5cd9_unnamed.jpg)

Link on tag
This tutorial is property of Feline C31
Its traduction is property of Evanescence

MATERIAL
Thanks to Azalée for her nice tube
FILTERS
Eyes Impact 5 / Backlight

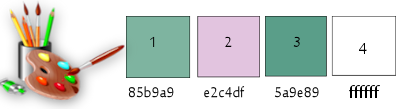
Colors used for this tutorial
1-Open a transparent layer of 900/550 px
2-Sélect all
3-Open flower background
4-Copy it in selection
5-deselect, keep it on your corel board
you'll need it later
6-Effect / image effect, seamless tiling
corner
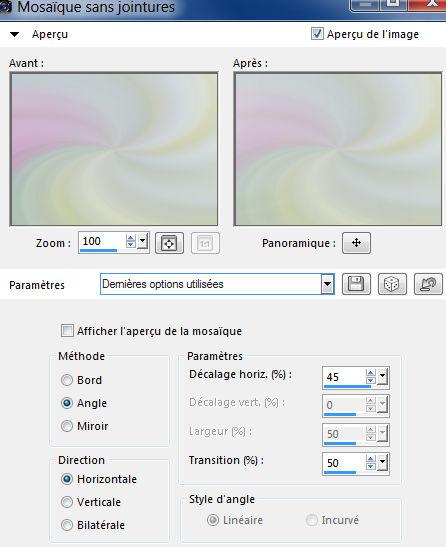
7- Adjust, blur, radial blur
twirl

8-new layer , will be layer 2
9-fill with color 1
10-Open mask Linda psp
11-layer, new layer of mask from image

12-Effect , edge effect, accentuate
13-Merge group
14-drop shadow 1/1/30/1 black

15-Merge down
16-Tool sélection ![]()
17-personnal sélection 

18-transform selection as layer ( transformed selection)
19-Duplicate (Copy of transformed selection )
20-stay on this layer
21-Sélection/ Modify /contract of 25
22-Fill it with color 2
23-Sélection/Modify / contract again of 25
24-Paste flower background into selection
25- Layer new layer 3
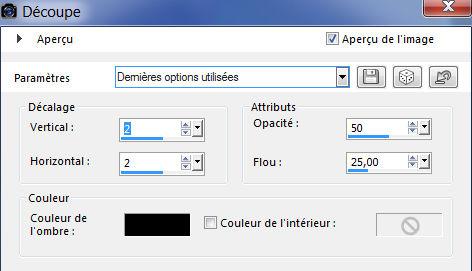
26-Effect 3D/ cut
27-Capture 2/2/ 50/25 black
28-Merged down
29-select none
30-Select with magic wand the pink frame
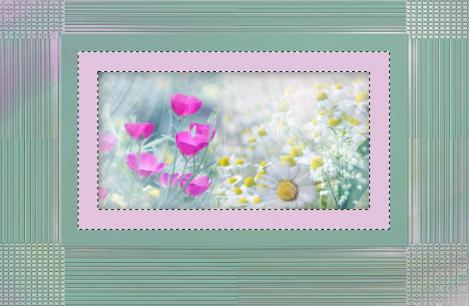
31-Effect 3D/ Inner bewel

32-select none
drop shadow 1/1/50/20 black
33-Resize at 85%
all layers not clicked
34-go to layer transformed selection
35 Adjust, add noise at 30 uniform

36-layer new layer (raster 2)
37-Sélection tool, personnal selection
same values as in point 17
38-Sélection / Modify / extend of 1
39-Put white color in it
40-Sélection /Contract of 2
41- suppress or  on keyboard
42-Effect Eyes Candy impact5/ Backlight
take preset in material
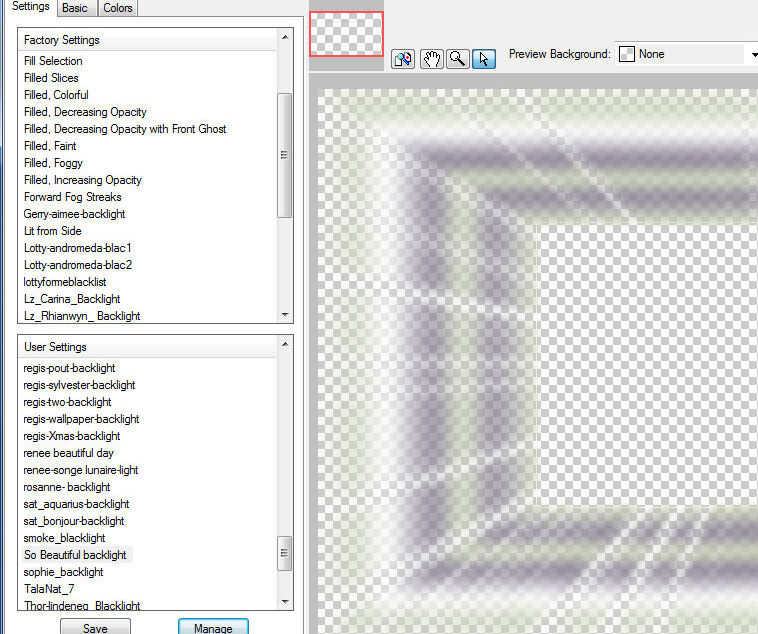
43-if preset does not work or you don't know
here find manual values

44- Blend mode of layer on overlay opacity at 100
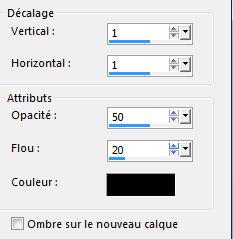
45-Effect drop shadow /1/1/30/10 black color

46-go on raster 1
47-Sélection / Charge selection So beautiful from disk
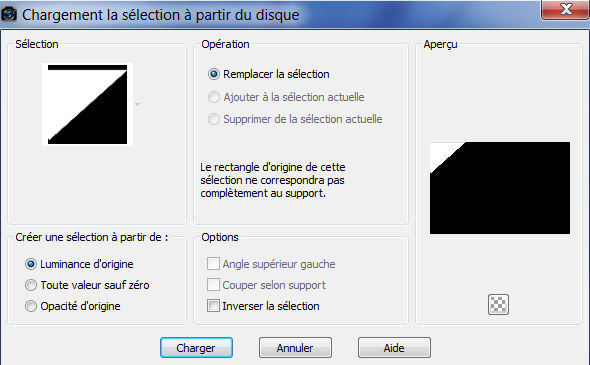
48-Transform selection into layer
49-Effect/ texture effect, blinds color 3

50-Adjust, sharpness, sharpness
51-Blend mode of layer opacity at 80
52-Sélection/ Modify / contract of 15
53-Drop shadow 1/1/50/20 black color

54-Sélection contract again at 15
55-Drop shadow 1/1/50/20 black
56-deselect
57-Effect, reflection effect/ feedback

58-Drop shadow 1/1/30/20 black

59-duplicate layer
60-Image, inverse, vertical mirror for old versions
61-Stay on this layer
62-Open tube tube déco So Beautiful
63-paste as new layer dont move it
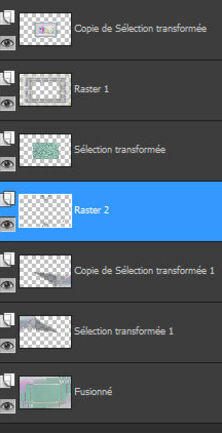
64-Your layers look like this
65-Merge all visible layers
66-Add a border 1 white
67-Add a border of 2 color 1
68-Select all
69-Add a border of 25 white
70-Sélection inverse
71, adjust , add noise aléatoire, random value 2
72-Effect 3D cut

73-deselect
74-Add a border of 1 color 1
75-Sélect all
76-Add a border of 40 white color
77-Sélection inverse
78-Effect 3D , cut, same values than in point 72
79-Open tube texte So beautiful
80-paste as new layer, don't move
81-Open déco 2 Eyelets
82-paste as new layer
selection tool ![]()
83-Position Horiz 626 Vert 440

84- Mode of blend Luminance L at 100
85-Duplicate
86-Image / horizontal mirror
87-Tool selection ![]()
88-Position Horiz 674 Vert 85

89-Open tube femme de Azalee or yours
90- paste as new layer
91-Resize at 80 %
92-Tool sélection ![]()
93-Position Horiz 31 Vert 4

94-drop shadow 5/5/ 40 /30 black color
95- finish with a border of 1 color 1
96-one border of 1 color white
97-Resize at à 900 pixels width
register in jpeg mode
Thank you for doing my Tutorial
Feline
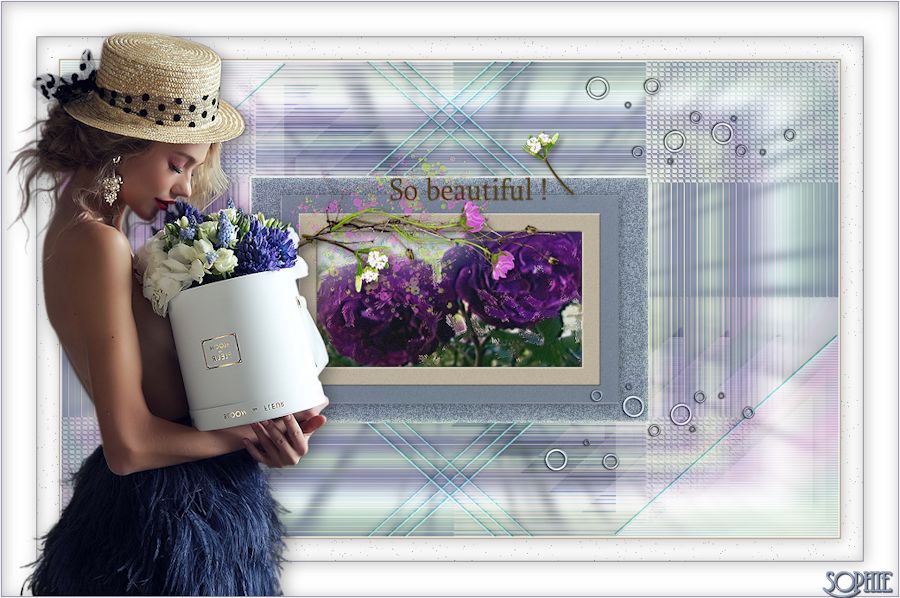
My version
Tube of LB tubes


/https%3A%2F%2Fekladata.com%2FYPI8DwfBf4bU6fHRpkzcSxO2pDU%40500x338.jpg)
/https%3A%2F%2Fekladata.com%2F_hXetnNky_6mWLePzNC4_ZUg_NQ%40500x364.jpg)