
/image%2F0654964%2F20241204%2Fob_9a5cd9_unnamed.jpg)
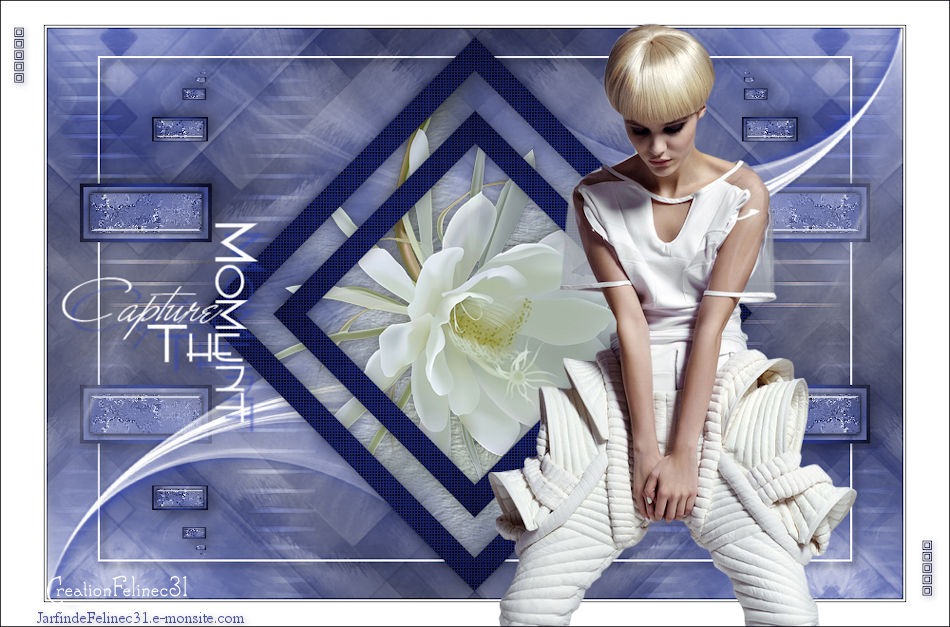
Link on tag
This tutorial is property of Feline C31
this traduction is property of Evanescence

MATERIAL

PLUGINS

Aidez vous de cette flèche pour suivre le tutoriel

Colors of this tutorial

1-Open a new tranparent layer of 900/600
2-Fill with sunburst gradient
Color 1 light foreground
color 2 background
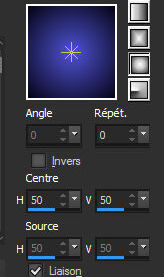
3-add new layer raster 2
4-Fill with white color
5-Oopen mask 0_82b70
6-reduce it
7-New layer of mask from image
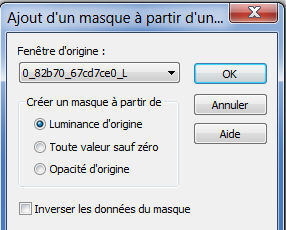
8-Merge group
9-Merge down ( raster1)
10- sélection tool
Personnal selection, K letter
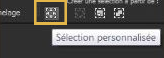
letter M for deselect selection

11-Transform selection as layer
12-layer new layer raster 2
13-Fill with sunburst gradient like in point 2
14-Selection contract of 10

15-Delete ( suppress)
16-Merge down with transform selection
17-Sélection / modify/ contract of 15
18-Effect Art media /brush stroke
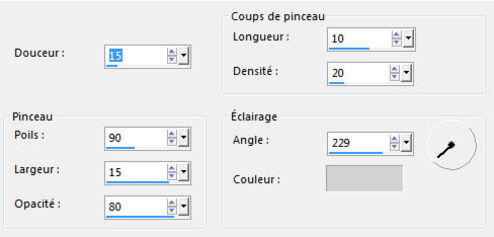
19-Effect Eye candy impact / Glass/ preset glass c
(Paramèter if preset doesnot work)

20-drop shadow 3/3/50/10 black color
21-Drop shadow again in negative -3/-3/50/10 black color
Deselection
22-Effect réflexion / feedback
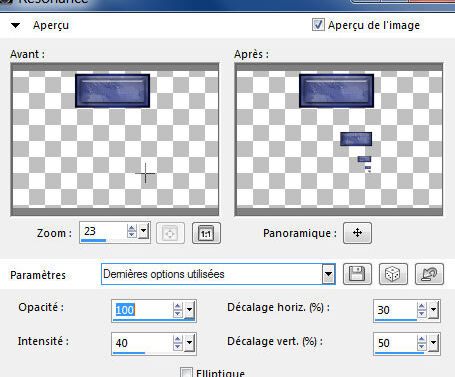
23-Personnal selection
M to deselect
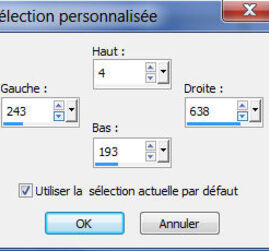
24-Delete ( suppress)
Deselect
25- sélection tool  ( M to deselect)
Position 34/375

26- duplicate layer
27-Image mirror
28-Merge down
29- Calque dupliqué
30- Image flip
31-drop shadow 5/5/40/20 black color

32-go to the bottom raster
33-Effect simple /Diamond
34-Layer duplicate ( copy of raster 1)
35-Image mirror
36- Opacity at 40
37-go on top layer
38-layer new layer raster 2
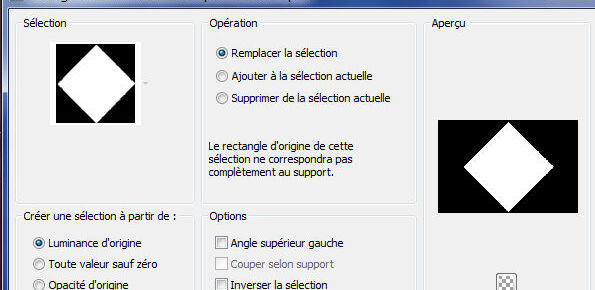
39-Selection/ charge from disk , selection Capture the moment
40-Open tube fleur 191-flower-LB
41-Copy and paste it into selection
42-adjust / gaussian blur at 40
43-Effect texture / texture/ fur

44-Layer new layer of Raster 3
45-Put your sunburst gradient
46-Szlection/ Modify contract of 25
47-Delete (suppress)
48-Selection/ Modify / Contract of 30
49-Fill with same gradient
50-Selection /Modify/Contract of 25
51-Delete (suppress)
Deselect
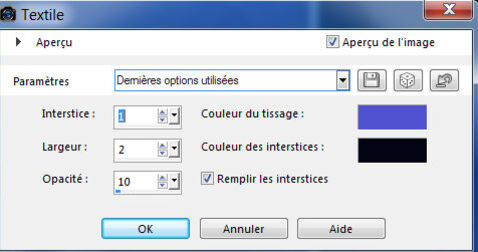
52-Effect texture / weaver
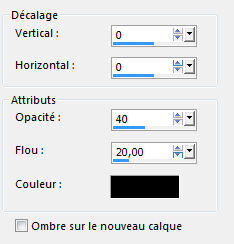
53-drop shadow 0/0/40 /20 black color
54-Copy tube LB as new layer (Raster4)
55-Image/ resize at 60 %
56- sélection tool touch M to deselect
Position 223/27

57-Erase around the flower

58- move down under raster 3
59-drop shadow 0/0/40/20 black color
60-go to copy of raster 1
61-Open tube deco 1
62-Copy as new layer (Raster 5)
sélection tool
Position -10/-1

63-duplicate layer
64-Image mirror
65-Merge down
66-blend mode on overlay opacity at 100

67-layer new layer ( raster 6 )
sélection tool
Personnal selection 

68-put white color un selection
69-Sélection / modify/contract of 2
70- Delete (Suppress)
71-deselect
72-Effect drop shadow 5/5/60/10 black
73-go on layer transform selection
74-Open mask Narah_mask_0471
75-layer new layer (raster 7)
76-fill with white color
77-New layer from image

78-Merge group
79-drop shadow color 1 1/1/50/1
80-duplicate layer
81-Image mirror
82-Image flip
83-Ajouter a border of 1 color 2
84-one border of 2 white color
85-one border of 1 color 2
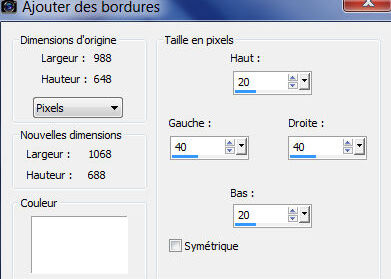
86-one border non symétric white color
87-Open woman tube, here Verlaine
sélection tool
Position 450/-17

(Put your own drop shadow on tube)
88-Open text tube Capture Moment
89-paste as new layer
90- sélection tool
Position 63/233

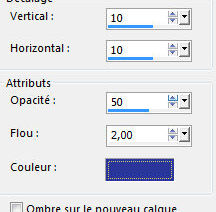
91-drop shadow 10/10/50/2 color 1
92-Open tube Deco 2
93-Copy and pste as new layer
dont move
93-Finish with a norder of 1 color 2
Sign
Resize at 900 Pixel
I thank you for doing my tutorial
Feline C31
Tube fleur du net
Tube femme d' Azalée que je remercie


/https%3A%2F%2Fekladata.com%2FYPI8DwfBf4bU6fHRpkzcSxO2pDU%40500x338.jpg)
/https%3A%2F%2Fekladata.com%2F_hXetnNky_6mWLePzNC4_ZUg_NQ%40500x364.jpg)