
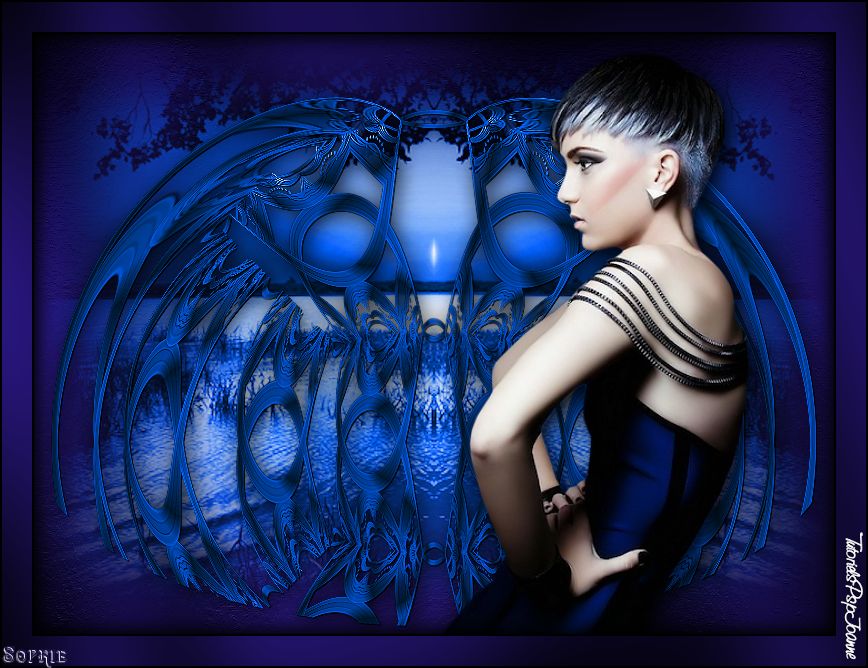
/image%2F0654964%2F20241204%2Fob_9a5cd9_unnamed.jpg)

Lien sur image
ce tutoriel est la propriété de Joanne
cette traduction est la propriété d'Evanescence


MATERIAL

Thanks SMART for lady tube
MARION and DIETER for tubes
PLUGINS
Graphics Plus, Cross Shadow
Flaming Pear, Flexify 2
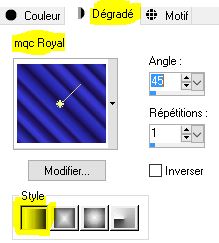
1 -Place gradient Mqc in gradients file
2 - in palette colors
as foreground
put the gradient with a linear style 45/1
3 - As background put a solid color , choosen from tube
here 03419f
4 - open a transparent layer 800x600 px
put background color in layer
5 - plugins Graphics Plus, Cross Shadow
défaut
6 - effects, art media brusk strokes :

7 - copy and paste the landscape tube
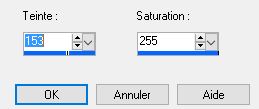
8 - adjust , color and saturation
colorize
9 - image, resize at 150 % for this tube, all layers not checked
10 - effects, refexion effect, rotating miror :

11 - adjust sharpness, sharpness
12 - add a new layer , fill with gradient
13 - Layer new layer of mask from an image

14 - merge group
15 - duplicate layer
merge down
16 - effects, distorsion effect
polar coordinates
polar to rectangular
17 - effects, edge effect , accentuate more
18 - duplicate layer
Image, vertical flip
merge down
19 - Flaming Pear, Flexify 2 :

20 - adjust color and saturation
colorise like in point 8
21 - layer duplicate
merge down
22 - do it once again
duplicate layer and merge down
23 - go layer below the copy
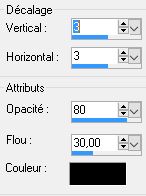
24 - effects, 3D, drop shadow

25 - effects, 3D, drop shadow
26 - go on copy layer
27 - adjust, sharpness, sharpness
28 - copy and paste lady tube
do not move
29 - adjust, sharpness, sharpness
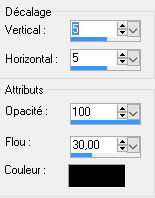
30 - effects, 3D, drop shadow
31 - copy and paste my watermark
32 - sign your tag
33 - flatten all layers
34 - image, add borders :
1 border of 2 pixels black
1 border of 30 pixels white
1 border of 2 pixels black
35 - select border of 30 px with magic wand
36 - fill it with color 03419f
37 - plufin Graphics Plus, Cross Shadow like in step 5
38 - effects, 3D, drop shadow like step 30
39 - do shadow again with -5 vertical and horizontal
40 - deselect
41 - save as JPEG
Tube femme Karina Dreams


/https%3A%2F%2Fekladata.com%2FYPI8DwfBf4bU6fHRpkzcSxO2pDU%40500x338.jpg)
/https%3A%2F%2Fekladata.com%2F_hXetnNky_6mWLePzNC4_ZUg_NQ%40500x364.jpg)