
/image%2F0654964%2F20241204%2Fob_9a5cd9_unnamed.jpg)
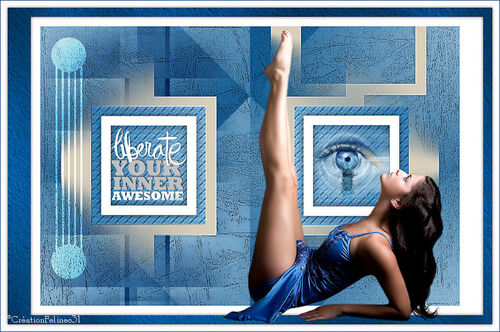
Link on tag
This tutorial is property of Feline C31
Thos translation is property of Evanescence


MATERIAL

Thanks Hebe, Libellule and MMDDesign for tubes
PLUGINS
Toadies/ Weaver
AAAFrames/ Texture Frames
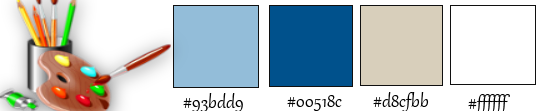
Colors for this tutorial
you can change opacity and mode of layers according your choosen colors
1-Open alpha layer Liberée
2- window duplicate ( touche Ctrl D )
xlose original and work on copy
This layer has selections
3- rename layer as raster 1
4-Prepare a sunburst gradient
color 1 as foreground
color 2 as background
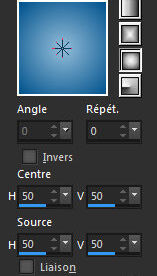
5-fill layer with gradient
6-layer new layer raster 2
7-fill with color 3
8-Ouvrir le masque masker39-mpd©designs97
8B-Layer of mask from image
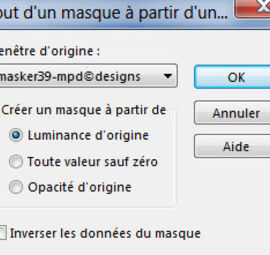
9-merge group
10-Edge effect accentuate
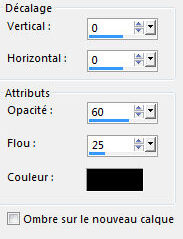
11-Effect drop shadow 0/0/ 30/ 10 black

12- go on raster 1
13-Sélection charge from alpha canal
F-Sélection#1

14-promote selection as layer , keep selected
15- layer organize on top
16-Effect , texture effect

17-Sélection modify contract of 20
18-layer new layer raster 2
19-fill with white color
20-Sélection /Modify contract of 20
21-Suppress
22-selection none
23-drop shadow 0/0/60/25 black
24- go on raster 1
25-Effect filter simple / blintz
26-Filter simple / Hal Wrap
27-layer new layer raster 3
28-fill with white color
29-Open mask VSP226
30-layer of mask from image

31-merge groupe
32-Edge effect accentuate
33-mode of layer multiply opacity 100

34- go on raster 1
35-layer new layer Raster 3
36-Sélection charge from canal alpha
selection 2

37-fill with white
38-Contract of 10
39-fill with color 2
40-Contract of 10
41-fill with color 1
42-selection none
43-Effect /Toadies / Weaver

44-layer on multiply mode opacity 100
45- go on top layer
46-Open tube text Yoka
47-paste it as raster 4
48-Resize at 55 % only one layer
selection tool 
Position Horiz 151 Vert 218

49-Open tube libellulegraphisme_Eyes
50-paste as new layer
51-Image resize once at 30% and then at à 75%
52-tool selection
Position Horiz 580 Vert 217

53-Sélection charge from canal alpha
F- Selection3

54-inverse selection
55-Suppress
56-selection none
57-Open tube déco 1
58-paste as new layer
59-selection tool
Position Horiz 17 Vert 23

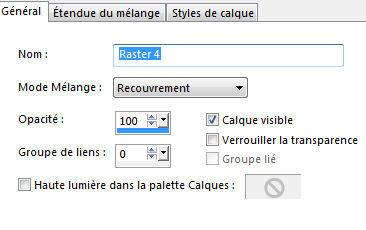
60-mode of layer on overlay opacity 100
61-Add a non symetric border white color

62-Add a non symetric border color 2

63-Add a symetric border of 15 white
64-Select border of color 2
65-Filter AAA Frames/ Texture Frames

66-Effect drop shadow 0/0/60/10 black

67-slection none
68-Open tube , here of Hebe
69-paste as new layer
70-Image/ resize at 95%
71-tool selection
Position Horiz 475 Vert 58

72-adjust, sharpness, sharpen
73-drop shadow 3/3/40/30 black
74-add one border of 1 color 2
75- Resize at 900 pixels
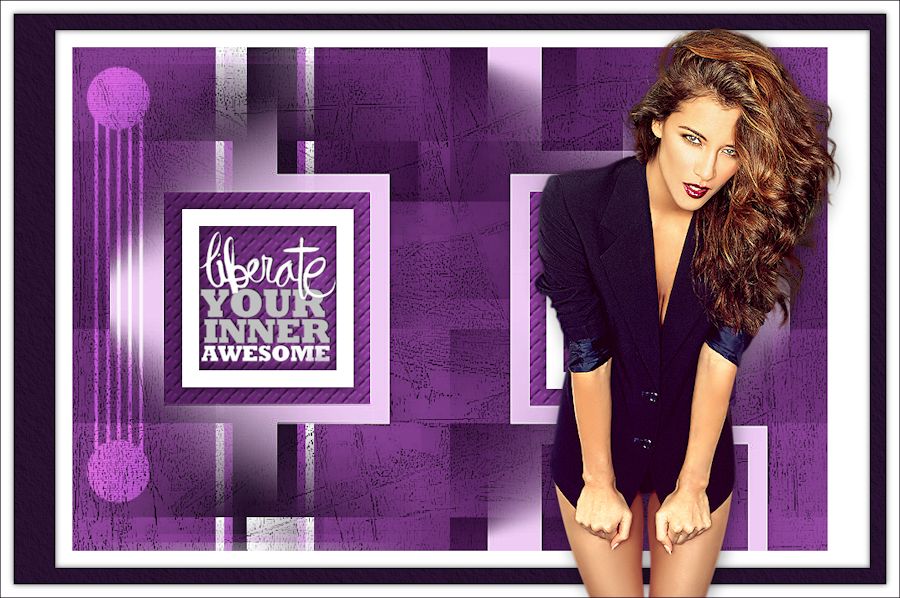
76-Sign
tube de Grisi


/https%3A%2F%2Fekladata.com%2FYPI8DwfBf4bU6fHRpkzcSxO2pDU%40500x338.jpg)
/https%3A%2F%2Fekladata.com%2F_hXetnNky_6mWLePzNC4_ZUg_NQ%40500x364.jpg)