
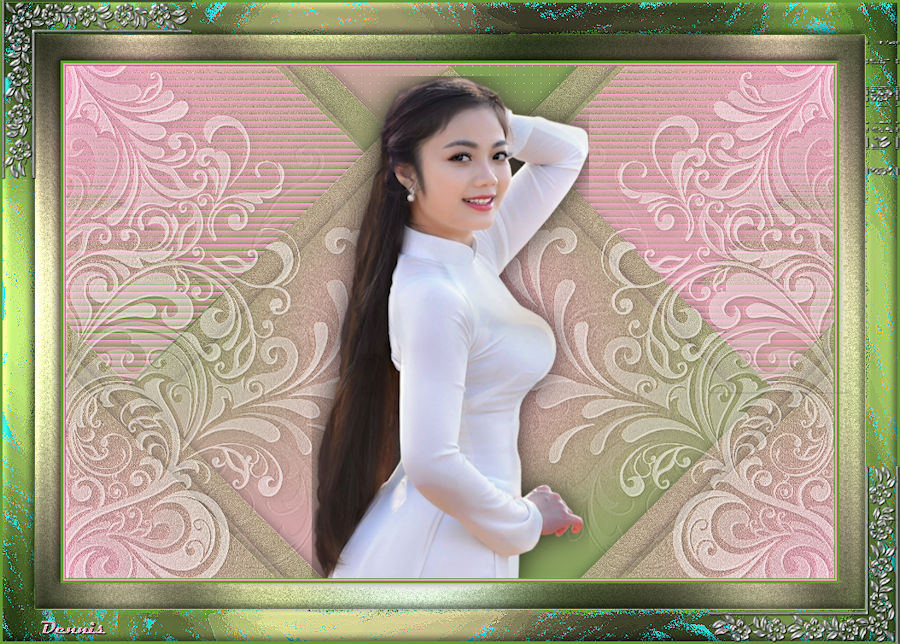
/image%2F0654964%2F20241204%2Fob_9a5cd9_unnamed.jpg)

This tutorial is a personal creation.
Publicity
It is forbidden to copy or distribute it without my permission.
Any resemblance to another is pure coincidence.
Please do not remove the watermarks from the tubes provided.
Respect the work of the tubers / thank you.
EQUIPMENT
click on the flower
Exclusive Cicka Tube (not included)
Mask of Mary Lbdm
4 Selections
deco corner
Thanks Mary

FILTERS
AP [Lines] / Lines / Silverlining
Graphics Plus
Impressionist
Simple
I used the following Colors
Light Color Foreground #c4bdb7
Dark Color Background #972f42
1.
Open a New Transparent Image 900 x 600 pixels
Materials Palette
Make a Sunburst Gradient / 0 / 0 (invert not checked)

Flood Fill with the Gradient
Seraphine
Effects / Plugins /Filters Unlimited / Simple / Blintz
Selections / Load/Save Selection / Load Selection from Disk
seraph Selection 1

Selections / Promote Selection to Layer
Adjust / Add/Remove Noise / Add Noise / Gaussian 20
(Monochrome checked)

Selections / Select None
2.
Layers / Duplicate
Image / Resize 90% (resize all layers NOT Checked)
Place against the bottom edge

Effects / 3d Effects / Drop Shadow / 0 / 0 / 50 / 20 Black

Layers / Merge / Merge Down
Repeat the Drop Shadow/ 0 / 0 / 50 / 20 Black
Layers / Merge / Merge Down
3.
Effects / Image Effects / Seamless Tiling (default)

Adjust / Sharpness / Sharpen
Selections / Load/Save Selection / Load Selection from Disk
seraph Selection 2

Selections / Promote Selection to Layer
Effects / Plugins / AP [Lines] / Lines / Silverlining
Dotty Grid

Selections / Select None
Effects / 3d Effects / Drop Shadow /0 / 0 / 50 / 20 Black
4.
Activate Raster 1
Selections / Load/Save Selection / Load Selection from Disk
seraph Selection 3

Selections / Promote / Selection to Layer
Effects / Texture Effects / Blinds
Horizontal checked / Light Color

Effects / 3d Effects / Drop Shadow / 0 / 0 / 50 / 20 Black
Selections / Select None
5.
Activate / Raster 1
Selections / Load/Save Selection / Load Selection from Disk
seraphine Selection 4

Selections / Promote Selection to Layer
Effects / AP [Lines] Lines / Silverlining
Dotty Grid as before
Effects / 3d Effects / Drop Shadow (in memory)
Selections / Select None
6.
Activate the Top Layer
Layers / Merge / Merge Down / 2x
Adjust / Sharpness / Sharpen
Layers / New Raster Layer
Flood Fill with White or another Color if you want
(according to your tastes)
Open the Mask / lbdm-masque-032.jpg
Layers / New Mask Layer from Image

Layers / Merge / Merge Group
Layers / Duplicate
Image / Mirror / Mirror Horizontal
Layers / Merge / Merge Down
Effects / 3d Effects / Drop Shadow / 0 / 0 / 50 / 20 Black
Effects / User Defined Filter / Preset / Emboss 3

Layers / Properties / Opacity 60
(or other according to your taste)
Adjust / Sharpness / Sharpen
Effects / 3d Effects / Drop Shadow / 0 / 0 / 50 / 20 Black
7.
Open your Character Tube
Edit / Copy
Edit / Past as a New Layer
Place in the center
Add a Drop Shadow or Perspective Shadow
(according to taste)
Image / Add Borders / 1-pixel / #972f42 (or your own color)
Edit / Copy
Selections / Select All
Image Add Borders / 2-pixels / #c4bdb7 (or your own color)
Image / Add Borders 3-pixels #972f42 (or your own color)
Selections / Select All
Image / Add Borders / 30-pixels / Neutral Color
Selections / Invert
Edit / Paste the Copied Image into the Selection
Adjust / Blur / Gaussian Blur 50
Adjust / Add Remove Noise / Add Noise / Gaussian 20 (Monochrome Checked)
Effects / Plugins / Graphics Plus Cross Shadow (default)

Effects / 3d Effects / Inner Bevel

Selections / Invert
Effects / 3d Effects / Drop Shadow
8.
Selections / Select All
Image / Add Borders / 3-pixels #972f42 (or your own color)
Selections Select All
Image / Add Borders 35-pixels / Neutral Color
Selections / Invert
Edit / Paste into Selection
Adjust / Blur / Gaussian Blur 50
Effects / 3d Effects / Impressionist Filter
in the style tab Check paint
then choose old brush stamp

I took my dark Color, choose according to your tastes
Effects / Edge Effects / Enhance
Effects / 3d Effects / Inner Bevel in memory
Selections / Invert
Effects / 3d Effects / Drop Shadow / 0 / 0 / 50 / 20 Black
Selections / Select None
Image / Add Borders 3-pixels #972f42 (or your own color)
9.
Open the Corner Tube (ab2d3a15)
Edit / Copy
Edit / Paste as a New Layer
Place in the Border / Top Left
Layers / Duplicate
Image / Mirror / Mirror Horizontal
Image / Mirror / Mirror Vertical
Layers / Merge / Merge Down
Effects / 3d Effects / Drop Shadow / 1 / 1 / 100 / 1 Black
Repeat the Drop Shadow in negative / -1 / -1 / 100 / 1 Black

Layers / Merge / Merge Visible
Image / Resize / 900-pixels wide (all layers checked)
Sign and Save
Thank you for following my tutorial
I hope you liked it
Do not hesitate to send me your versions


/https%3A%2F%2Fekladata.com%2FYPI8DwfBf4bU6fHRpkzcSxO2pDU%40500x338.jpg)
/https%3A%2F%2Fekladata.com%2F_hXetnNky_6mWLePzNC4_ZUg_NQ%40500x364.jpg)