


-
Par Evanescence* le 16 Mai 2015 à 16:03

Link on image
V I C T O R I A
B Y
J O A N N E

MATERIAL
Click on flower to download

A big thank to Grisi for woman tube
to Azalée Créations for landscape tube
to nikita for greens tube
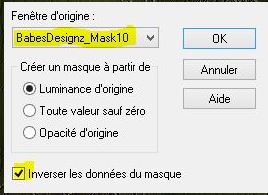
and Babe Designs for the mask
PLUGINS
you 'll need emboss 3 for this tutorial
Help yourself with this arrow to follow tutorial


1/ place your selections in your files
2/ in colors put in foreground D0B9B2
And in background 846666
3/ make a linear gradient

4/ open a new layer 800 x 600 and fill it with gradient
5/ Duplicate layer, close visibilty of copie and go to the first one
6/ Effects, Art media effect, brushstroke

7/ close this layer, open the other one
8/ Add new layer of Mask from picture
9/ Merged group
10/ personnal plugin emboss 3
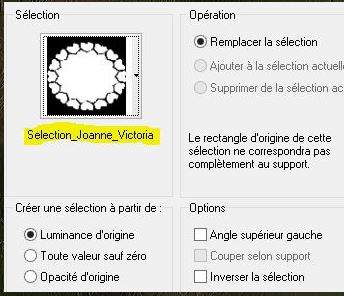
11/ charge selection from disk
12/ supress or delete, deselect
13/ Duplicate Layer, merge all visible layers
14/ Drop shadow , effects 3D

15/ Drop shadow again in négatives values ,
vertical and horizontal
-5
16/ go to layer at the bottom and open it
17/ copy and paste layer of landscape
18/ go to layer on top
19/ Effects, Image Effects, offset

20/ duplicate layer and merged down
21/ go to layer on the top
22/ copy and paste tube of green branches
23/ Effects, image effects, offset

24/ Drop shadow again same as in points 14 and 15
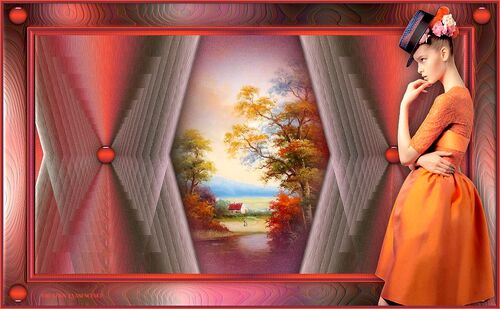
25/ copy and paste lady or other tube, resize to 70 %
26/ put it as model tag
27/ Repeat drop shadow same as point 14/15 , stay on this layer
28/ Image, size of support

29/ Add a new layer, put the gradient you made before
30/ select, select all, modify, contract 34 pixels
31/ supress or delete, inverse selection
32/ Effects 3D , Inner Bevel

33/ Drop shadow

34/ Do this shadow again with negative -5
35/ Duplicate layer, Deselect
36/ copy and paste my watermark , which is in material
37/ sign your version
38/ Merged all
39/ register as jpg
I thank you for having done my Tutorial
I hope you enjoy it
Joanne

-
Pour accéder aux tutos des créateurs
cliquez sur le cœur
en dessous de leurs
bannières

-


Lumières d' Automne
-


-


-


-

-


-


-


-

-


-


-


-


-


-


-

-

cliquez sur le logo au dessus site amis pour ouvrir la page
-

-

-


-


Pour mettre mes bannières
sur votre site ,cliquez sur l'une d'elles vous aurez les codes pour les incorporer
To put my banner on your site, just click on anyone of the two you have and you will have the codes on the opening page
-
-

-
Allez visiter le site de Rénée Graphisme pour vos filtres et plein d'autres choses encore
-
Livre d' Or

